- Home
- Lean Principles
- Machine Selection
- Mold Design
- Mold Interlocking
- Mold Making
- Plastic Material Technology
- Molding Process
- Plastic News
- What's New
- Privacy Policy
- Disclaimer
- Site Map
- Poll
- Polishing
- 3D Rapid Prototyping
- Molding Companies
- Contact Us
- Proven Thinwall Packaging Mold Designs For Sale
- MOLD WEIGHT CALCULATOR
- HOT RUNNER VERSUS COLD RUNNER
Troubleshooting Short Shots In Injection Molding Increases Production Performance

Shorts or short shots are one of the most common quality issues.
A plastic part is said to be short when the part is smaller than its normal shape.
Shorts occur when plastic material does not completely fill the mould cavity.
Eliminating shorts can have huge cost savings and should be part of a lean manufacturing program.
But how to fix shorts shots?
The root causes can be grouped into 5 different areas:
- Poor plastic material selection
- Incorrect processing parameters
- Mould issue Click here to see a case study (example#4) and to get help with mould issues. (Opens in a new window)
- Moulding machine issue
- Part design issue
Isolating which area is causing the problem can be quite difficult so it must be done in a step by step procedure eliminating each possible cause one at a time.
When doing injection molding troubleshooting, keep an open mind because the actual cause might be different to what you think it is.

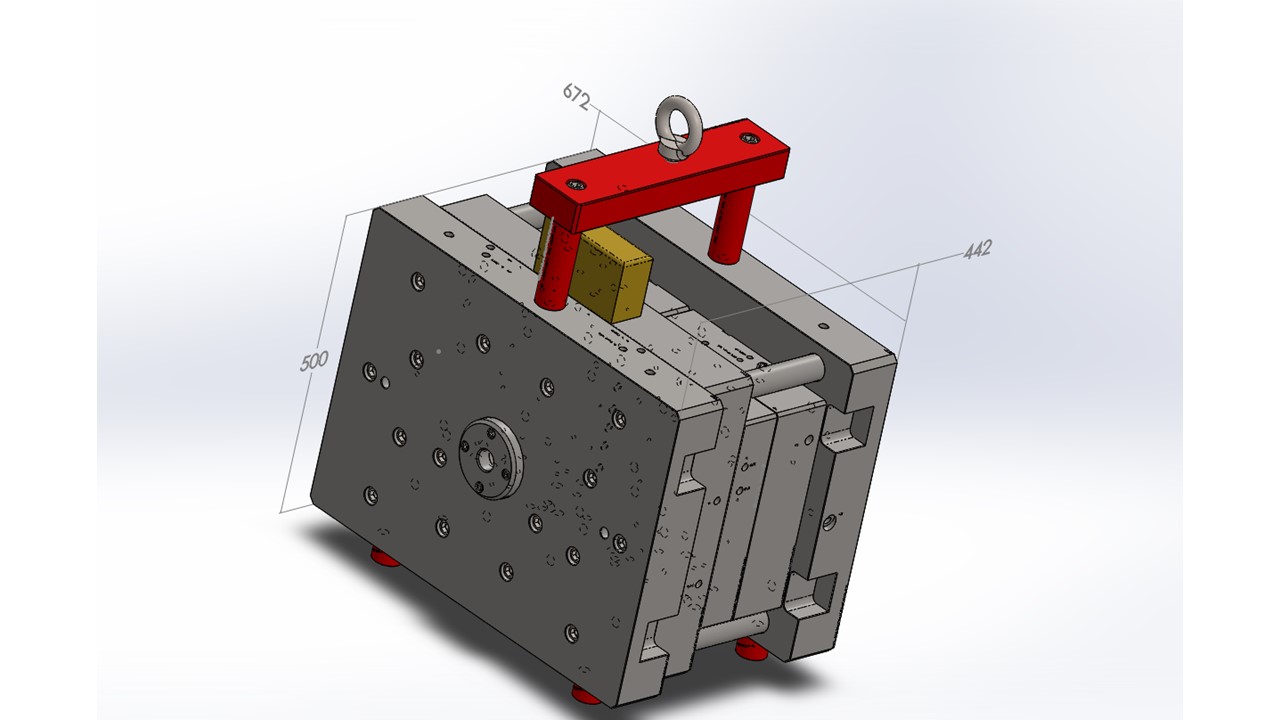
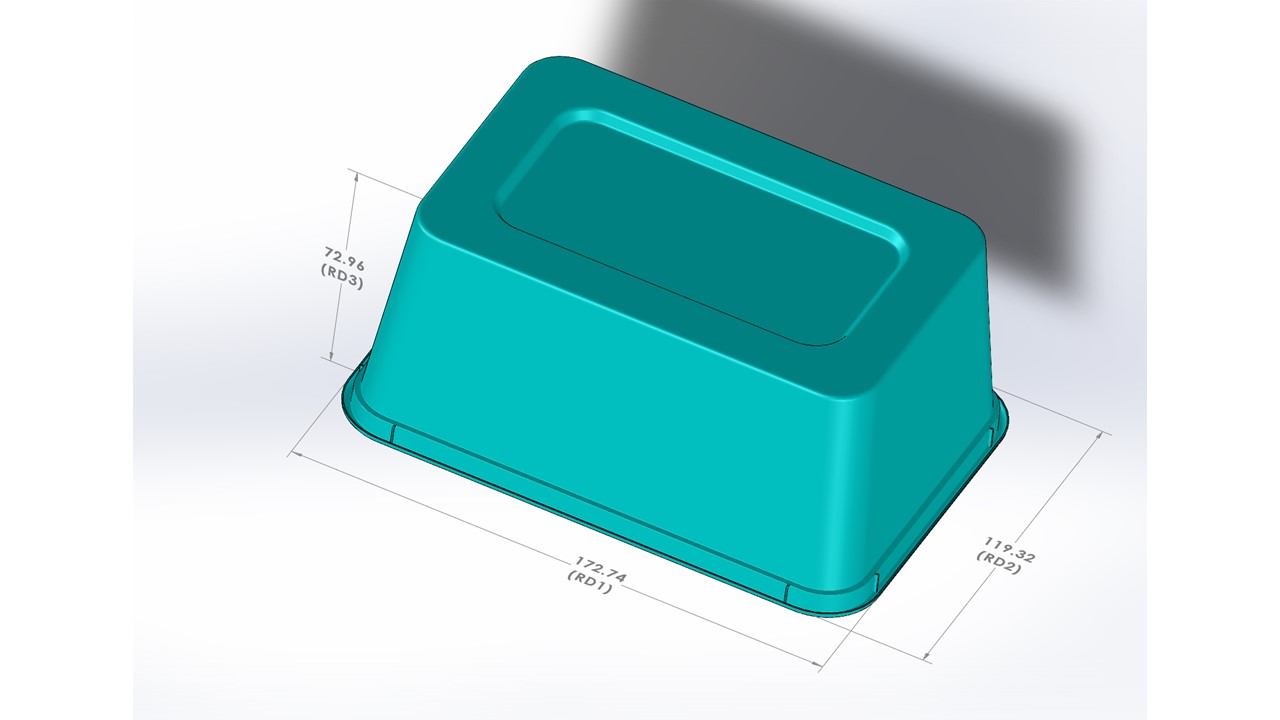
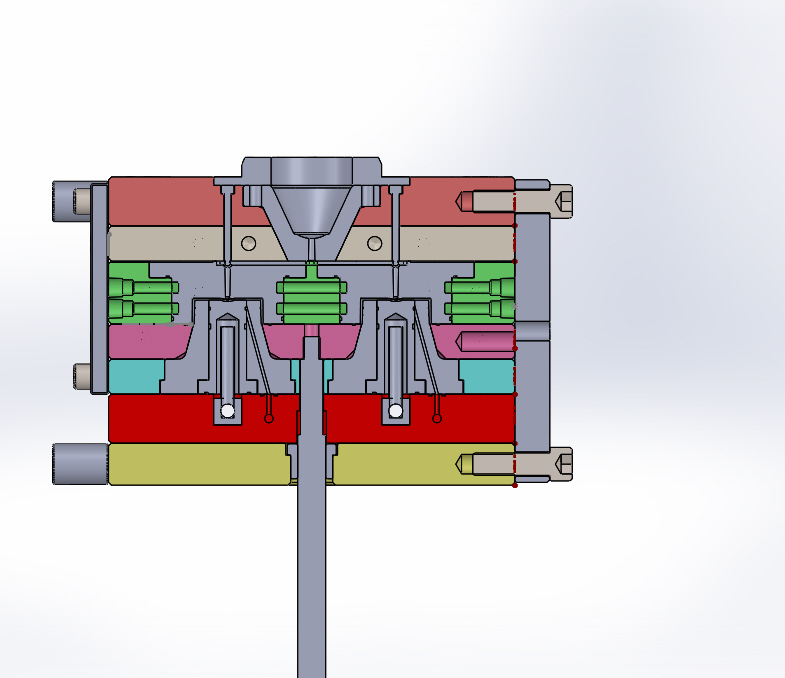
Ever thought of learning to make Thinwall Packaging Molds? Now is the time to start with our proven pre-made mould designs ready to buy today. Click here to find out whats for sale. (Opens in a new window)
1. Poor Plastic Material Selection
Plastic Material With High Viscosity
Explanation: A material with high viscosity is a lot more difficult to inject into a mould cavity than a material with a lower viscosity. Many things affect the viscosity of a material such as barrel temperature but the grade of plastic material used also plays a role. Melt flow index (MFI) is often used as a guide to measure the ease of flow but this does not give the full story. MFI tests are performed under low shear rates but injection moulding uses higher shear rates during the injection fill stage. Some materials behave differently under different shear rates so only use the MFI as a guide.
Sometimes a high viscosity material (low MFI) can be beyond the capability of the machine -that is, the injection unit cannot generate enough injection pressure to fill the mould cavity.
Action: Experiment with different grades of plastic materials with higher MFI which might make it easier for the molding machine to fill the mould cavity.
Keep in mind some additives can also change the MFI so of you are mixing before feeding into the machine then be aware the flow properties might change.
Issue With New Batch of Material
Explanation: If short shots coincide with a new batch of material then it is likely that it is not exactly the same as the previous batch even though your sales representative told you it was.
Action: a sample of the new batch needs to be checked against the previous batch of plastic material. Click here to learn how to do this.(opens in a new window).
2. Incorrect Processing Parameters
The first thing to do when shorting is an issue is to compare the current process parameters with past process parameters that were documented when quality parts were first produced.
When using this injection molding troubleshooting guide below change one parameter at a time by a small amount (say 5%) until you get a result.
Using Non-Optimized Fill Time.
Explanation: The correct fill time is critical to producing quality parts. If the viscosity of the virgin plastic material changes (which is common) then the fill time will change resulting in reject parts if the optimized fill time has not been established
Action: Do a viscosity curve experiment as done in Scientific Molding by John Bozzelli.
Injection Pressure Too Low
Explanation: A low injection pressure might be limiting the injection speed required to fill the mould cavity. If the injection speed is too low then the flow front of the plastic material in the mould cavity will become cool and solidify before it is full and create a short shot.
Action: Increase injection pressure by 5%. If the part has improved then increase it another 5% until it is full.
Low Injection Speed
Explanation: If increasing the injection pressure does not make a full part or 95% of a full part then more injection speed is required. If the injection speed is too low then the flow front of the plastic material in the mould cavity will cool and become solid before it is full and create a short shot.
Action: Increase injection speed by 5%. If the part has improved then increase it another 5% until it is full.
Low Hold Pressure
Explanation: If the part is already 95% full then more hold pressure is required to fill the part
Action: Increase hold pressure.
Plastic Material Temperature Too Low
Explanation: Low temperatures will allow the plastic material to solidify easier in the mould cavity.
Action: There are 2 ways to increase the plastic material temperature. The first is to increase the barrel temperatures(check plastic manufacturers temperature processing range and increase to upper limit).If this does not fix the problem then increase the back pressure setting during the plastizing stage.
Clamp Tonnage Too High
Explanation: Excessive clamp tonnage will limit air escape (venting) during the injection stage.
Action: Optimize clamp tonnage. In other words, reduce clamp tonnage until part quality is compromised.
3. Mould Issue
When troubleshooting a mould keep the following in mind:
Single cavity moulds are easy to troubleshoot because there is only one cavity to investigate and the runner is short so it is a simple system to work with.
However,multi-cavity moulds are more difficult because they are extremely sensitive to any type of faulty mould design or poor mold building such as small differences in wall thickness from cavity to cavity due to machining error. On top of this, multi-cavity moulds have a longer runner system than in single cavity moulds and shorting is often due to a fault in the runner system.
In my experience, shorting is usually due to poor mold maintenance. Clean the shut off faces as well as behind the stripper rings removing all traces of flash.
4. Injection Molding Machine
Shot Size Too Small For Molding Machine.
Explanation: If the shot size is less than 25% of the injection units maximum shot capacity then it will be difficult to maintain a stable process.An injection screw needs a reasonable distance to move to be able to maintain control over speeds and pressures.
Action: Move mold to a machine with a smaller shot size capacity.
Uneven Tie Bar Stretch
Explanation: Uneven tie bar stretch will produce uneven clamp pressure on the mould. Assuming a symmetrical part is being molded such as a square lid, the short will occur on the side of the tie bar providing the most clamp.
Action: Get the machine service agent to check or check yourself by using 4 dial indicators. Attach the magnetic base of each dial indicator to a stand which is sitting on the floor at the end of the machine and put the stylist of the dial indicator on the end of each tie bar.
Set each dial indicator to zero.
Clamp the mould and read the tie bar stretch directly off each dial indicator.
They should be within 0.05mm (0.002 inch) of each other
Note: it is important that the mould, plate or ring that is being clamped in the machine has been checked to be flat. If it is not it will give a false tie bar stretch.
Damaged Molding Machine Platens
Explanation: During mould installation and removal, platens can be knocked about by the mould causing some impressions. These impressions have high spots around them which will cause the mould to clamp up unevenly. This uneven pressure can cause short shots.
Action: Always clean the platens with a suitable stone to remove any high spots before installing the mould.
5. Part Design Issue
Explanation: Uneven wall thickness is a common reason for shorts due to part design. Uneven wall thickness puts uneven forces inside the mold cavity potentially forcing one side of the mold to open during the filling and hold phases of the molding process.
Action: Increase clamp tonnage. If this is not possible then make the wall thickness even but this can be very costly and time consuming because both the part design and mould will need to be modified.
Discounted Mould Designs For Sale
Additional Comments
Injection molding troubleshooting can have a huge affect on cost savings and your production performance.
Although it can be costly to get the root causes of short shots repaired the question you have to ask yourself is:
What is the long term cost of not fixing them?
Click here to get help with Quality & Cycle time Issues
Return from Troubleshooting Short Shots to Plastic Injection Molding Process


